
Category: baking
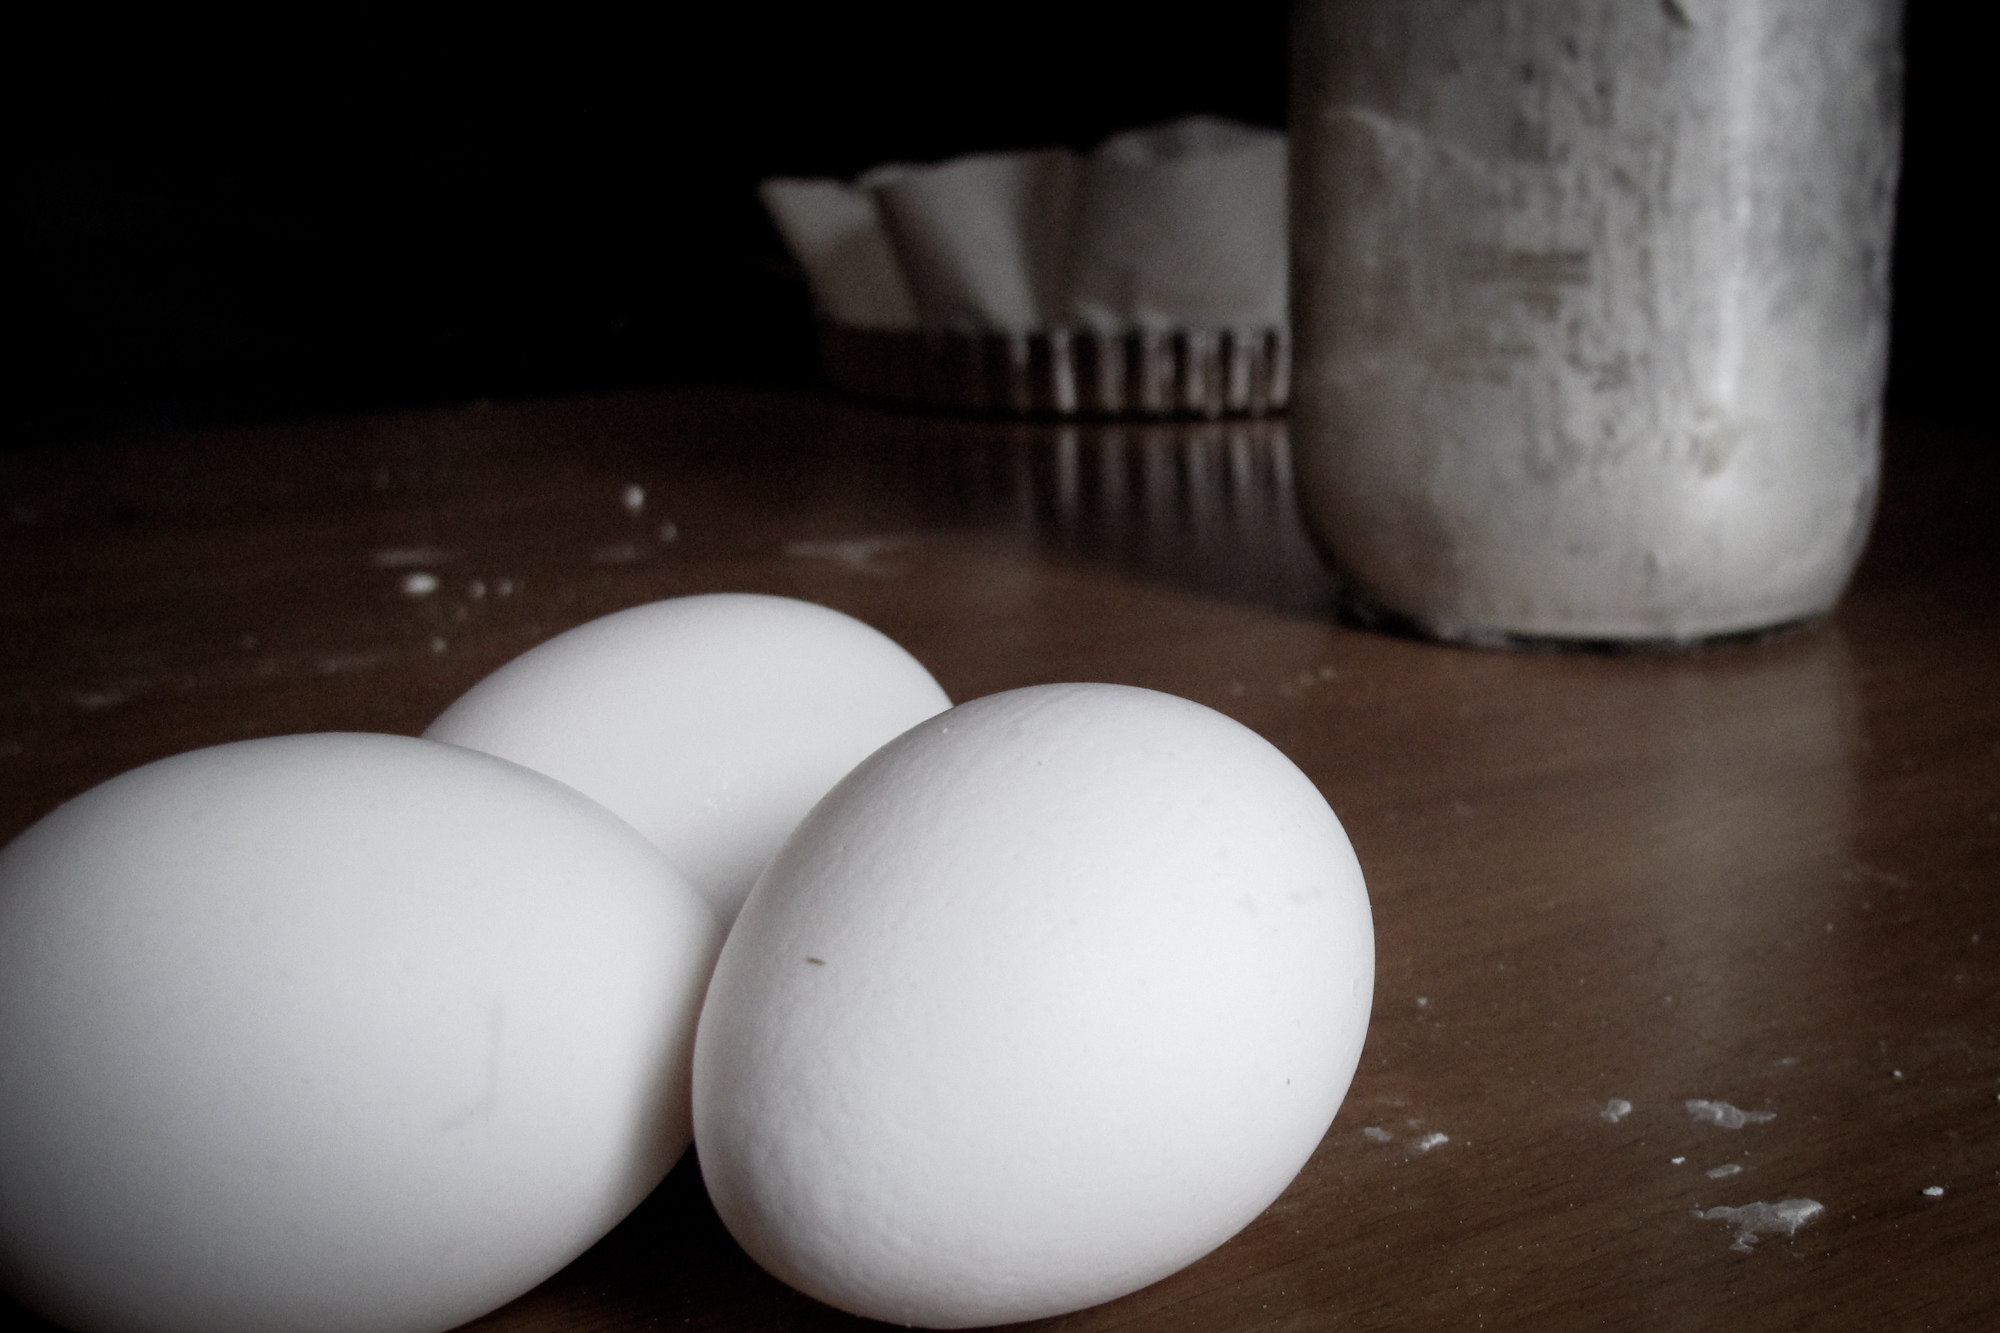
lemon curd

On the weekend I made lemon curd!! I’m pretty proud of it. I thought it was going to be really hard. But, It wasn’t at all.
Saturday morning I woke up early (this is my favorite time to watch movies, cause I can watch anything I feel like, and do not have to compromise on my picks!) . This morning it was Frances (1982) which was recommended to me by my manager at work. It was amazing!! Jessica Lange is incredible (it took me half the movie to get a grip on just how stunning she actually is), the story is heartbreaking. I’m happy Chris was still fast asleep as I turned it off (with tear stained cheeks) at the end. I’m a total sucker, I cry watching movies all the time lol.


I was excited to get breakfast started and figured Chris would be awake soon so I started on the lemon curd. I figured it would be the hardest part of our breakfast. I had seen a recipe for “Cornmeal Pancakes and Lemon Curd” on Naturally Ella and really wanted to try it. I made my pancakes EXACTLY like her’s. They were delicious. The lemon curd recipe she had was from Cookie&Kate….I made mine a little different, but the instructions are the same! It’s super easy to do, I can’t wait to use it on all sorts of stuff! I still have most of the jar.


Lemon Curd:
- 4 tablespoons unsalted butter, cut into small pieces
- ⅓ cup pure maple syrup
- 4 large egg yolks
- 2 large eggs
- ⅔ cup fresh lemon juice
- In a bowl, cream the butter and syrup until fluffy.
- Beat in the eggs slowly.
- Pour in juice, and pour the mixture into a medium-sized, non-reactive saucepan.
- On medium/low heat, stirring constantly with a wooden spoon. Cook until the mixture has thickened.
- Pour into a glass jar and let it cool and store the curd in the refrigerator.


oat yogurt scones

I had a whole list of things I wanted to do today. I can honestly say that this scone project was the only thing I ended up getting done. I woke up with a splitting headache. Unable to barely move I whined and cried till past noon. Finally, after a couple tylenol I was functional enough to make some scones and a small blog post. Homework and taking Wyatt for a walk will have to wait a little longer. The scones were nice, a little too dry but, with a large cup of fresh coffee, a little butter and fresh strawberries they ended up pretty good!
Ok, well guess it’s time to tackle a little homework.

INGREDIENTS:
- 1 3/4 cups cake flour flour extra for dusting surface
- 1/2 cup whole wheat flour
- 1/2 cup rolled oats
- 1 tablespoon baking powder
- 1 large tablespoon brown sugar
- 1 teaspoon table salt
- 3/4 cup unsalted cold butter, cut into pieces
- 1/4 cup maple syrup
- 1/4 cup milk
- 1 tablespoon (+) full-fat yogurt
- 1 egg, beaten (for glaze)
DIRECTIONS:
- Preheat your oven to 400°F (200°C). line baking sheet with un-buttered parchment paper.
- Mix the flours, oats, baking powder, sugar and salt together in a large bowl.
- With your fingertips, work the butter into the dry ingredients (until mixture resembles fine breadcrumbs).
- In a small dish, combine the milk and syrup, then add these ingredients to the butter-flour mixture.
- By hand, bring everything together and add yogurt a tablespoon at a time until it forms a soft dough. If it feels too dry, add a little more yogurt (dough should not be sticky).
- On a lightly floured surface, pat or roll the dough out until it is approx 2 inches tall. Using a cutter (or a small cup), cut the dough into rounds and place them on the prepared tray so that they almost touch. Glaze the tops with beaten egg
- Bake for 20-25min

birthday cake
 Chris’s birthday cake…was probably the biggest baking project I have ever tried. It was surprisingly super successful!! The directions are long but the outcome is amazing! I followed the directions as closely as possible and it wasn’t necessarily hard, it just takes a while.
Our birthday weekend started with Valentines Day. We started the evening with some champagne then off to Roy Thompson Hall to watch Casablanca with the TSO. On the way we stopped at Seven Lives in Kensington Market to grab taco’s and sat in the car trying our best not to ruin our clothes.
 Saturday we had a small gathering planned. We had arranged a dinner at Soos about a month ago, a fun little Malaysian restaurant. They reserved a small private table for us with a strict number of (12) guests. We ate an incredible meal laughing and catching up with bunch of Chris’s friends. Then we strolled up to Dundas West to enjoy some drinks with a few more people at Get Well. We stayed till last call and stumbled home.
 I made his birthday cake, the topping and the icing Sunday afternoon (while the birthday boy waited out his horrible hang-over on the couch). Finally Monday (CHRIS’S BIRTHDAY!!) I woke up early to put the cake all together (and of course pile the table with more champagne, gifts, balloons and to get started on a big birthday breakfast). We made eggs benedict with prosciutto, drank coffee, listened (sang along…and there MAY have been some dancing) to our favorite 90’s tunes and of course snuggled with our puppy.
By the afternoon we were ready to try some cake and sip some champagne.


Momofuku Milk Bar Birthday Cake
- 1 batch birthday cake (recipe below)
- 1 batch birthday cake soak (recipe below)
- 1 batch birthday cake frosting (recipe below)
- 1 batch birthday cake crumbs (recipe below)
- Invert the birthday cake onto a sheet of parchment paper or silpat, and peel off the parchment paper backing. Using the 6-inch cake ring, stamp out two circles from the cake. These will be the top and middle layers. The remaining cake “scrap’ will come together to make the bottom layer of the cake.
- Clean the cake ring and place it on a sheet of parchment paper or silpat atop a baking sheet. Use one strop of acetate to line the inside of the cake ring. Put the cake scraps in the ring and use the back of your hand to press the scraps together into a flat even later.
- Dunk the pastry brush in the birthday cake soak and give the layer of scraps a good, healthy bath of half of the soak.
- Spread one fifth of the birthday cake frosting over the base layer. Then sprinkle with one-third of the birthday cake crumbs evenly over the top of the frosting. Use the back of your hand to anchor them in place. Top with another fifth of the birthday cake frosting, carefully spreading it so that it is even, but without disturbing the crumbs.
- With your index finger, gently tuck the second strip of acetate between the cake ring and the top 1/4 inch of the first strip of acetate, so that you have a clear ring of acetate 5-6 inches tall- high enough to support the height of th finished cake. Top with a full circle of cake (save the nicest one for the top layer), brush the rest of the cake soak over this layer, top with another one fifth of the frosting, one third of the cake crumbs, and another one fifth of the frosting.
- Nestle the remaining cake round into the frosting. Cover the top of the cake with the last fifth of the frosting. Give it volume and swirls, or opt for the perfectly flat top. Garnish the frosting with the remaining birthday crumbs.
- Freeze the cake for at least 12 hours to set the cake and filling. (And to make the unmolding much easier.)
- Three hours before serving, pull the pan from the freezer, and using your fingers and thumbs, pop the cake out of the cake ring. Gently peel off the acetate and transfer the cake to a platter or cake stand. Let it defrost in the fridge for a minimum of 3 hours. (wrapped well in plastic, it can be refrigerated for up to 5 days.)
Birthday Cake, Yield: 1 quarter sheet cake
- 2 cups cake flour
- 1 1/2 tsp baking powder
- 1/4 cup + 2 T rainbow sprinkles
- 4 T (1/2 stick) salted butter, at room temp
- 1/3 cup vegetable shortening
- 1 1/4 cup granulated sugar
- 3 T light brown sugar, tightly packed
- 3 large eggs
- 1/2 cup buttermilk
- 1/3 cup grapeseed oil
- 2 tsp clear imitation vanilla extract
- Preheat the oven to 350. Prepare a rimmed quarter sheet pan by spraying with cooking spray and covering the base with a sheet of parchment. Set aside.
- Whisk together the flour, baking powder, and 1/4 cup sprinkles in a small bowl. Set the dry ingredients aside for later.
- In the bowl of an electric mixer fitted with the paddle attachment, cream together the butter, shortening, and sugars on medium-high speed for 2 to 3 minutes, scraping down the bowl as needed.
- Add the eggs (all at once) and then beat again on medium-high for another 2 to 3 minutes. Scrape down the bowl.
- With the mixer on low speed, add the wet ingredients (buttermilk, oil, and imitation vanilla) in a steady stream. Increase the mixer to medium-high speed and beat for another 4 to 6 minutes. The mixture should double in size and turn practically white. Don’t stop mixing until the mixture is completely homogeneous, with no visible streaks of oil or fat.
- With the mixer on low, add the dry ingredients, and mix for another minute or so until the ingredients are just combined.
- Pour out the batter into the prepared sheet pan, spreading it out into an even layer. Sprinkle with the remaining 2 tbl of sprinkles.
- Bake for 30–35 minutes until the cake bounces back slightly when gently pressed in the corner. The center of the cake should no longer jiggle when the pan is shook. Cool the cake completely in the pan on a wire rack.
Birthday Cake Soak
- 1/4 cup milk
- 1 tsp clear imitation vanilla extract
- Whisk together the milk and vanilla in a small cup or bowl.
Birthday Cake Crumb
- 1/2 cup granulated sugar
- 1 1/2 T light brown sugar, tightly packed
- 3/4 cup cake flour
- 1/2 tsp baking powder
- 1/2 tsp salt
- 2 T rainbow sprinkles
- 1/4 cup grapeseed oil
- 1 T clear imitation vanilla extract
- Preheat the oven to 300 and line a baking sheet with a Silpat or piece of parchment.
- In the bowl of a stand mixer fitted with the paddle attachment, combine the sugars, flour, baking powder, salt, and sprinkles. Mix on low speed until combined.
- Stream in the oil and the imitation vanilla on low speed and continue beating the mixture until the ingredients clump and form small clusters.
- Carefully spread the clusters in a thin layer on the prepared baking sheet and bake them for about 20 minutes, breaking up occasionally. They will be slightly moist but will harden as they cool. Let them cool completely before using.
Birthday Cake Frosting
- 1 stick salted butter, at room temp
- 1/4 cup vegetable shortening
- 2 ounces cream cheese, at room temp
- 1 tablespoon glucose
- 2 tbl light corn syrup
- 1 T clear imitation vanilla extract
- 1 1/4 cup powdered sugar
- pinch baking powder
- pinch citric acid
Instructions
- In the bowl of a stand mixer fitted with the paddle attachment, cream the butter, shortening, and the cream cheese for 2 to 3 minutes on medium-high until the mixture is smooth and fluffy.
- Add the glucose, corn syrup, and vanilla, and beat the mixture on medium-high speed for 2 to 3 minutes or until the mixture is smooth and glossy white.
- Add the powdered sugar, baking powder, and citric acid on low speed until just combined. Crank the mixer to high speed and beat for 2 to 3 minutes or until the mixture is stark white and fluffy.
 HAPPY BIRTHDAY MY LOVE!!!!! XOXOX
black forest

New Years Eve day is my Dad’s birthday. After a Christmas full of huge meals made by my parents (you can see one of my dad’s recipe posts HERE), Chris and I thought we’d make something or order something for them for the celebration (we ended up doing both). I made a HUGE black forest cake, using Momofuku Milk Bar’s Chocolate Cake recipe and filling it with the traditional black forest cake stuff. We ordered a ton of food from Duckworth’s Fish and Chips (our family’s favorite fish’n chip spot) for a late lunch feast and spent an afternoon sipping my mom’s home made baileys, opening birthday presents and of course pigging out.
This is a big recipe. It isn’t difficult but, there are lots of ingredients. I made the fudge sauce the night before (I doubled the recipe of sauce so I could pour a ton on the top of the cake). I woke up early the morning of and baked the cakes and prepared the filling and then assembled it all at my parents house. I would suggest doing the assembly right before serving. I did mine a few hours earlier…It sorta slide and flopped over, creating an ugly (and yummy) mess by the time we served it. The whip cream can’t hold up this dense (almost brownie like) cake.


Fudge Sauce
- 1 1/3 cups cocoa powder
- 4 ounces bittersweet chocolate (70% to 72% cacao), chopped
- Pinch of coarse kosher salt
- 1/2 cup heavy whipping cream
- 1/2 cup light corn syrup
- 1/4 cup sugar
Cake
- Nonstick vegetable oil spray
- 2 ounces bittersweet chocolate (70% to 72% cacao), chopped
- 1 3/4 cups all purpose flour
- 3/4 cup unsweetened cocoa powder
- 2 teaspoons baking powder
- 1 teaspoon coarse kosher salt
- 3/4 cup (1 1/2 sticks) unsalted butter, room temperature
- 2 1/4 cups sugar
- 3 tablespoons light corn syrup
- 3 large eggs
- 3/4 cup buttermilk
- 1/3 cup grape seed oil
- 1 teaspoon vanilla extract
- 1/2 cup heavy cream
Cake wash
- 3 tablespoons hot chocolate mix
- 1 cup whole milk
Filling
- Whip cream (whipped)
- Cherry pie filling (slightly mashed or blended)
Fudge Sauce
Place first 4 ingredients in medium bowl; set aside. Combine cream, corn syrup, and sugar in heavy medium saucepan. Bring to boil, stirring until sugar dissolves. Pour cream mixture over chocolate mixture in bowl. Let stand 1 minute, then stir until smooth. Whisk until sauce is glossy, about 1 minute. DO AHEAD Can be made 1 week ahead. Cool completely. Cover and chill. Rewarm just until pourable before using.
Cake
Preheat oven to 350°F. Coat 2 9-inch cake pans with nonstick spray. Line bottom of each pan with parchment round; coat parchment with nonstick spray. Sift flour, cocoa powder, baking powder, and coarse salt into medium bowl. Combine butter, sugar, and corn syrup in large bowl of stand mixer fitted with paddle attachment; beat on medium-high speed until fluffy and pale, about 2 minutes. Scrape down sides of bowl. Add eggs; beat on low speed to incorporate, then increase speed to medium-high and beat until mixture is fluffy, about 2 minutes. Scrape down sides of bowl. Add 3tbs of fudge sauce (save the rest to cover top of finished cake). Beat until blended, about 1 minute. Add buttermilk, oil, and vanilla; beat on medium-high speed until pale brown, about 2 minutes. Add dry ingredients; beat on low speed just until blended, about 45 seconds. Divide batter among pans; smooth tops.
Bake cakes until tester inserted into center comes out clean, about 20 minutes. Cool completely in pans on racks.
Mix cake wash and use a pastry brush to soak tops of each layer of cake before topping with filling for layers
Layer cake with LOTS of whipped cream then cherry sauce. To top cake pour on the rest of fudge mixture and a pile of fresh organic cherries! Serve immediately! (or wrap cake in plastic wrap until ready to layer and serve)


plum torte

Thanksgiving weekend officially marks end of summer for me. Although I am sad it’s over the weather has been amazing! the sun has been shining most of the long weekend (except Sunday) and with the beautiful leaves full of color it’s been awesome to wander with our new puppy around our neighborhood. It’s crisp but not at all cold.
Now that summer is over and our weekends are finally quieting down. I have more time to get back to trying to teach myself to cook (and blog). Seems the summer was mostly spent repeating the few recipes I had learned……or us scrambling to make something quick while rushing in and out of the house.
This weekend I made a delicious Plum Torte (originally posted on Smitten Kitchen). I had to switch up some of the ingredients cause we didn’t have some things on hand. But, it didn’t seem to matter. This was super easy and really, really good. I know plums are not a autumn fruit. I don’t care. They should be. …..or look like they should be.
While it baked in the oven I curled up under our big blanket, snuggled in with our sweet puppy to watch ‘Thérèse’ with the beautiful Audrey Tautou. When it was done baking i pulled it out of the oven and headed to our back deck to let it cool. It was bright and sunny outside so Wyatt and i played in the leaves. After we came inside our house was still filled with the most amazing warm scent of fresh baking. As soon as Chris came home we couldn’t resist, we cut ourselves a couple pieces and enjoyed it still slightly warm.


INGREDIENTS:
1 cup all-purpose flour
1 teaspoon baking powder
pinch of salt
1 cup dark brown sugar plus 1 to 2 tablespoon
1/2 cup butter, softened
2 large eggs
10 plums, halved and pitted
½ fresh lime (juice)
2 tablespoon ground cinnamon


DIRECTIONS:
Heat over to 350°F.
MIx flour, baking powder and salt in a bowl. In a larger bowl, cream butter and sugar together with an electric mixer until light in color. Add the eggs, then the dry ingredients, mixing until just combined.
Spoon batter into an greased 9-inch springform pan and smooth the top. Arrange the plums, skin side up, all over the batter, covering it. Sprinkle the top with lime juice, then cinnamon, and the rest of the sugar.
Bake until cake is golden and a toothpick inserted into a center part of the cake comes out free of batter (but of course not plum juice), about 45 to 50 minutes.
Cool on rack.


brunch

Summer is finally over. I LOVE summer. The only thing I hate about it, how busy everyone is. It’s hard to get together with anyone, let alone 4 others (my besties and their perfect and wonderful other half’s …. 6 actually, including Poppy and Chris).
We did it. Finally after the heat was long gone and the leaves were changing color we locked down 3 of them (sadly we were minus one, do to some stupid wisdom teeth). We got together in the morning with warm latte’s, bubbly mimosa’s and of course a huge brunch.
We woke up early, grabbed coffee, turned up some music, straightened up the place and started chopping up our fresh fruit. We made a baked french toast (which was perfect, all the work was done the night before), apple/cinnamon smoked sausage from St.Lawrence Market and threw the pile of bright fruit on the table and we were set! As soon as everyone arrived and we were ready to go! We chatted (mostly with my mouth full), laughed and watched poppy and our puppy. Before we knew it, it was time for them to head home to put beautiful Poppy down for a nap. It was such an awesome time. Within the first couple hours of them leaving we had our next brunch date set! Just a couple weeks from now. I love them all so much! I CAN’T WAIT!!


- 1/4 pound pancetta; diced
- 1 baguette, thinly sliced
- 1/2 pound ricotta cheese
- 1 tablespoon plus 1/2 teaspoon ground cinnamon; divided
- 1 1/2 teaspoons vanilla
- 1/4 cup dark brown sugar + 2 tablespoons to sprinkle on top
- 2 tablespoons of maple syrup
- 6 large eggs
- 1/2 cup half and half
Butter a casserole dish and set aside.Heat a saute pan over medium heat and cook the pancetta 5-7 minutes until cooked through. Remove from heat and set aside to cool.Fold together ricotta, 1 1/2 teaspoons ground cinnamon, vanilla, maple syrup and dark brown sugar. In a separate bowl whisk together the 5 eggs, half and half and 2 teaspoons cinnamon.
Place a layer of ciabatta in the prepared pan. Spread the ricotta cheese mixture over the bread. Sprinkle cooled pancetta over top. Layer the remaining bread slices over top. Pour the egg mixture evenly over the bread, cover with plastic wrap and refrigerate overnight.
Remove the casserole from the fridge and allow to sit at room temperature for 20 minutes. Sprinkle with extra sugar. Preheat the oven to 350 F and bake 40 minutes or until the custard is set. Serve warm.
* I think it was a little dry. If I were to do this again I would add 2 more eggs and a little more cream (yup, TWO more!)


honey granola

I’ve wanted to make granola for a little while and have had a few recipes saved in the “to make” pile. I don’t know why it’s taken me so long to finally make it. This one isn’t a super sweet granola but it’s REALLY good. We’ve been topping our yogurt with it for breakfast almost every morning and it’s perfect when I’m craving something to snack on in the evening. Now that I realize how easy it is to make I’m pretty excited to add different nuts, seeds and fruit.
INGREDIENTS:
- 2 cups old-fashioned oats
- 1/2 cups raw organic pumpkin seeds
- 1/2 cup raw organic sunflower seeds
- 1/4 unsweetened organic coconut (shredded)
- 1/4 coconut oil
- 1/4cup honey
- 1 tsp vanilla extract

DIRECTIONS:
- Mix dry ingredients in a bowl
- Whisk coconut oil, honey & vanilla-you may need to warm up the coconut oil you want it to have a smooth liquid consistency
- Mix dry ingredients into honey mixture in batches (would want it mixed really well)
- Spread on parchment lined baking sheet
- Bake for 20min flipping granola so it’s evenly toasted
- Let cool completely on pan
- Store in air tight container

apple crisp

I’m so excited about this post! Not only was the apple crisp PERFECT the recipe for the crisp topping was from my amazing bestest best friend ( http://www.ibbyandpop.com/blog/ ) and my crazy awesome boyfriend made the most beautiful video ever! I love it so much I could cry.
INGREDIENTS:
apples
- 5 apples (peeled and cut)
- 6 tbsp brown sugar
- 3 tsp cinnamon
topping
- 1 1/3 cup brown sugar
- 1 cup flour
- 1 cup old fashioned or quick cooking oats
- 1 tsp cinnamon
- 1/4 tsp salt
- 2/3 butter, cubed and softened
*Note from ibby : If you prefer a higher fruit to crisp ratio, cut the topping ingredients in half.
DIRECTIONS:
Heat oven to 350. Pour the apple mixture into a greased baking dish. In a medium bowl, mix the brown sugar, flour, oats, cinnamon, salt and butter with a fork until crumbly. Sprinkle over apple mixture and bake for 30 min. Remove from oven and serve.
*original recipe: http://www.ibbyandpop.com/blog/2013/02/verry-berry-crisp.html

THANK YOU MY LOVE, The video is so perfect & beautiful! I LOVE YOU XOXO
brooklyn quiche

So…you know whats worse then making something that ends up being a total disaster? …Making something that looks and smells amazing and tastes like boring lameness. I was so excited to post this weekend. I haven’t posted in a while, which I have an excuse for (coming up, after i bitch and moan about my quiche). I waited all week!!! Knowing that my pictures during the day always turn out better then the evening ones, I decided that Saturday was the day. I woke up at 9am! (ya ya ‘like most grown ups’ EXCEPT ME! I still sleep in like a teenager). I collected all the ingredients, recipes, camera and was totally covered in flour by 10am. Chris sleepily bumbled into the kitchen being awoken from his deep sleep by the smell of ham frying. Sadly after a couple hours of work I pulled out what looked and smelled like an incredible quiche. Finally after taking a million photo’s we sat down, excited to eat. IT WAS SO BORING! I know you won’t believe me after reading the recipe. But dude, I’m telling you. LAME. I didn’t even finish my little piece. The name for this post should be “boring brooklyn lameo wannabe good quiche”.
The worst part is, I was so freaking excited! (not just cause the quiche sounded awesome). I haven’t posted in a while and and I was really dying to. Chris’s birthday was a couple weeks ago . I know some of my friends (pretty much all of them) were surprised I hadn’t posted some boyfriend gushing birthday post for him lol. I would have, except he had a craving for a grocery store slab cake. So that’s what he got! Well that …and some paint, a couple markers and potato gun. That weekend he wanted to celebrate with a group of old friends at a fun restaurant spending the night eating, drinking (a lot of drinking). I really didn’t make him anything I could have posted. Last week I started a cleanse (a fast actually) so I was not to eating for 10 days (and no…I didn’t make it the entire 10days).

The recipe is broken up into two parts. The first being the crust for the quiche, this was actually ok. If you ever find yourself in need of a savory tart crust, this is it! The second part is a simple quiche recipe and you can add whatever filling you’d like. I found a recipe from a bakery in Brooklyn famous for their ham quiche. I’m not posting the name of the bakery or the site I found the recipe on. I don’t think I did this quiche right and I don’t want it to reflect on anyone but me. Now, the last thing I’ll say before handing over the recipe is, if you are wanting a big fluffy quiche, this isn’t it. This is supposed to be a thin, light quiche (light in texture not calories lol)

OLIVE OIL CRUST
INGREDIENTS:
- 1 cup flour
- 1 tsp fine sea salt
- 1/4 cup olive oil
- 1/2 cup cold water
Makes enough to line a 28cm pan (with a little leftover)

DIRECTIONS:
Combine the flour & salt in a bowl. Add the oil and mix it in with a fork. Add the water, mix with the fork until it is absorbed (it looks almost like cookie dough- I had to search online to double check that it was supposed to be that way…apparently it is), then knead lightly on a floured surface until the dough comes together into a ball.
Sprinkle a little flour on the ball of dough and on the rolling pin, and roll the dough out into a circle large enough to fit your tart pan. The trick is to do this in quick, assertive gestures to avoid overworking the dough(…I didn’t do this “quickly” and it turned out fine)
Transfer the dough carefully into a lightly greased or papered pan and line it neatly. Trim the excess dough, and place the pan in the fridge for 30 minutes to rest.
Blind bake the crust for 15 minutes at 400 degrees.
SIMPLE QUICHE
INGREDIENTS:
- 1 cup milk
- 3 eggs
- Salt
- Pepper
- filling
DIRECTIONS:
Place choice of filling in pie crust. Whisk together milk, eggs, salt and pepper. Pour mixture into crust, over filling. Bake for 25 minutes at 400 degrees. Eat warm or at room temperature.
You can add whatever filling you’d like. I happened to come across a recipe from a Brooklyn bakery famous for it’s quiche. There’s and mine was full of ham and goat cheese with a little spinach. What they claim makes theirs so awesome is…
1. They fry (with no butter on a non-stick skillet) thinly cut/shaved black forest ham and chop it into pieces. Now they had an amount that I followed exactly I got out my scale, weighed it and everything…it was a CRAZY amount (even for me…I LOVE ham, bacon, pork the more the better). I used enough to pretty much fill the tart pan.
2. They chop up the spinach as finely as possible and sprinkle it everywhere so every piece has an equal amount (well approximately)
3. The goat cheese in big chunks.


french macarons

So, where do I begin…. OK, I started this blog to document my success and my failures at cooking. I wanted this blog to show my struggle in the kitchen and to be an honest account of my journey.

To say I was excited to try french macarons, is an understatement. I’ve been printing off a few different recipes a day for the past week and watching endless YouTube tutorials. Yesterday, I could barely sleep thinking of which fillings I’d try and what cute colors I’d make them (I’m a total loser…I know). The plan for this chilly winter Saturday was to head over to the grocery store first thing and pick up our ingredients. Then spend the afternoon having our own little macaron makin’ party. I woke up super early and while Chris was still sleeping I slipped down to the kitchen, started a big pot of coffee. Then buried myself under a big warm blanket and popped on some old beautiful french movies. I love them! I’ve spent far to many Sundays wasting the day watching them, the older the better. This morning was filled with (I think maybe the most beautiful actress to ever live) Anna Karina. A Woman Is a Woman from Jean-Luc Godard (1961) to be exact.
As soon as Chris woke up I forced him to finish his morning coffee as quickly as possible so I could start our macarons. As soon as he finished his last sip I dragged him to the car and off we went. We ended up going to two different grocery stores to get everything we needed (almond flour) and headed home. As we made and ate breakfast I watched more YouTube tutorials… “I finally got them right on my fifth try” one said, another explaining how they’ve tried for over a year before perfecting them. I wasn’t going to let their negativity stop me. I was determined.
I mixed and whisked and whisked some more (we don’t have a mixer)…popped them in the oven and sat on the floor asking Chris the time every couple minutes anxiously awaiting my sweet perfect little treats….
As I opened the oven… I was horrified! What I had created was far from the perfect Parisian delicacy I was so excited to make. It was a mess! The pan had warped in the oven so half of them slid to one side, the bottoms burnt and the consistency was like hot chewy sugar gum. All I could picture is a young perfectly french Anna Karina shaking her head in disappointment. As Chris and I broke into laughter staring at my miserable sugar disks, Chris unable to hide his amusement “Bet, you were thinking you’d be the first person to nail these on your first try?” . We cleaned and cut as best we could to get some descent shots of the finished product and that was that. They sit on the counter being the first cookie in history to be completely ignored by both of us.

- 1 1/4 cups plus 1 teaspoon icing sugar
- 1 cup almond flour
- 6 tablespoons fresh egg whites (from about 3 extra-large eggs)
- Pinch of salt
- 1/4 cup granulated sugar


- To make the macarons: Preheat the oven to 350 degrees. In a medium bowl, whisk together confectioners’ sugar and ground almonds. In the bowl of an electric mixer fitted with the whisk attachment, whip egg whites with salt on medium speed until foamy. Increase speed to high and gradually add granulated sugar. Continue to whip until stiff glossy peaks form. With a rubber spatula, gently fold in the confectioners’ sugar mixture until completely incorporated.
- Line baking sheets with parchment paper; set aside. Fit a pastry bag with a 3/8-inch #4 round tip, and fill with batter. Pipe 1-inch disks onto prepared baking sheets, leaving 2 inches between cookies. The batter will spread a little. Let stand at room temperature until dry, and a soft skin forms on the tops of the macarons and the shiny surface turns dull, about 15 minutes.
- Bake, with the door of the oven slightly ajar, until the surface of the macarons is completely dry, about 15 minutes. Remove baking sheet to a wire rack and let the macarons cool completely on the baking sheet. Gently peel off the parchment. Their tops are easily crushed, so take care when removing the macarons from the parchment. Use immediately or store in an airtight container, refrigerated for up to 2 days or frozen for up to 1 month.
- To fill the macarons: Fill a pastry bag with the filling. Turn macarons so their flat bottoms face up. On half of them, pipe about 1 teaspoon filling. Sandwich these with the remaining macarons, flat-side down, pressing slightly to spread the filling to the edges. Refrigerate until firm, about 1 hour.
*recipe originally from marthastewart.com


I don’t even know If I can bare another attempt. Maybe, one day I will sacrifice another Saturday and dedicate it to the making of such a wonderful little cookie. “Bet, you were thinking you’d be the first person to nail these on your first try?” …YA, I did.

